A Nightmare Repaint
JK it was pretty easy I just liked the pun
If there is one thing I can always count on when I come home from college, it's that my mother has unused craft items to give me.
In this case, she had attempted to join a trend she had seen online recently, but had lost interest and decided to turn over to me instead; repainting Willow Tree Dolls.
Maybe it was just me, but as a child these were EVERYWHERE. Everyone I knew had at least one or two in their home; I still have a few somewhere in storage that my grandmother gave me over the years.
.jpg)
Seeing three of these for sale for ten dollars on Facebook Marketplace, she picked them up, but never actually got around to doing anything with them, which is how they came to be in my possession.
I wasn't actually sure what to do at first, as when I looked up inspiration for them, I found mostly figures with dresses painted black, and witch hats glued on. Which, don't get me wrong is cute, it just wasn't really what I was looking to do. However, a few days later, while rewatching the Nightmare Before Christmas for what can only be the millionth time, I had a brief idea; wouldn't it be fun to paint a figure into Sally?

For those who haven't seen the film, Sally is the deuteragonist (or, second main character), and is a blue ragdoll. She also happens to be my favourite. So it seemed like a good idea. I took a look at the three figures I had, and picked the one I thought would work the best.
Notably however there are a few differences. Aside from the wire wings (pulled off before I remembered to take a photo) the figure has a long sleeve dress, and a short ponytail, whereas Sally has a short sleeved dress and waistlength hair. Could I have left it as is, and simply called the figure 'inspired by Sally'? I mean, yeah, but where's the fun in that?
For reasons unknown to anyone (myself included) I didn't bother to prime the doll, and I also started painting the face before I realized I had access to polymer clay that I could use to alter the details that didn't quite fit. As such, I went and dug out my clay in a reasonably neutral colour, and went to work.
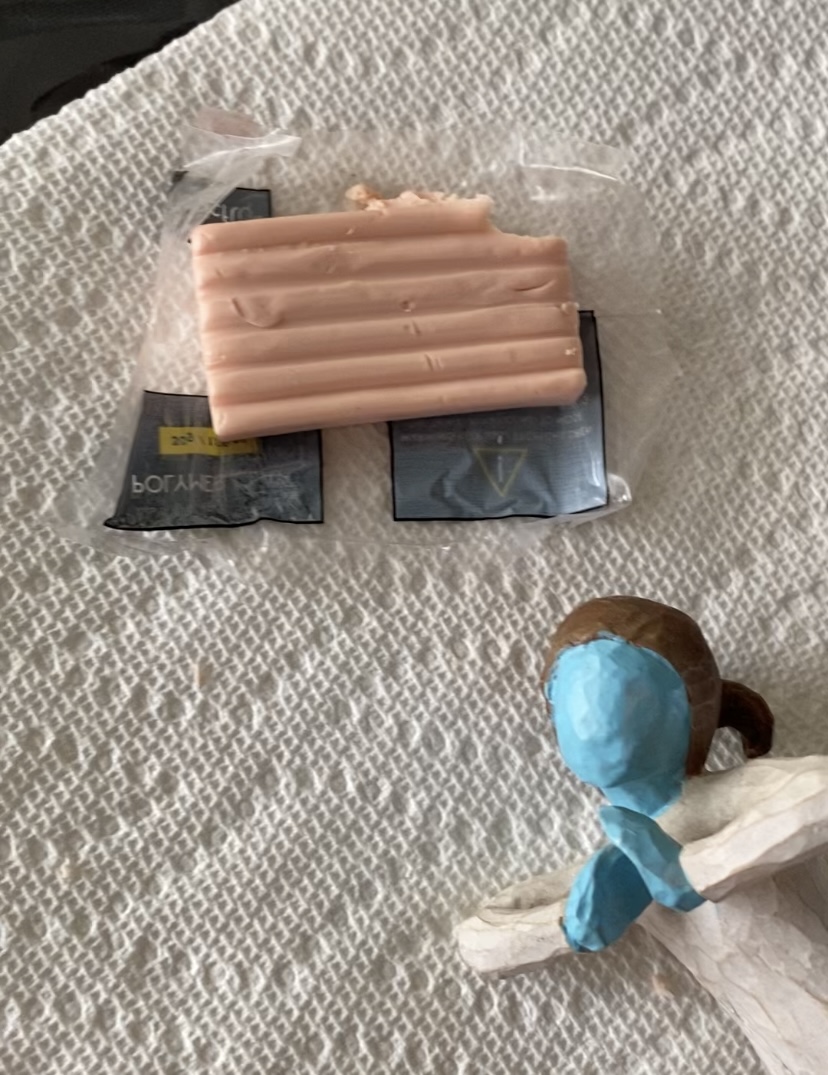
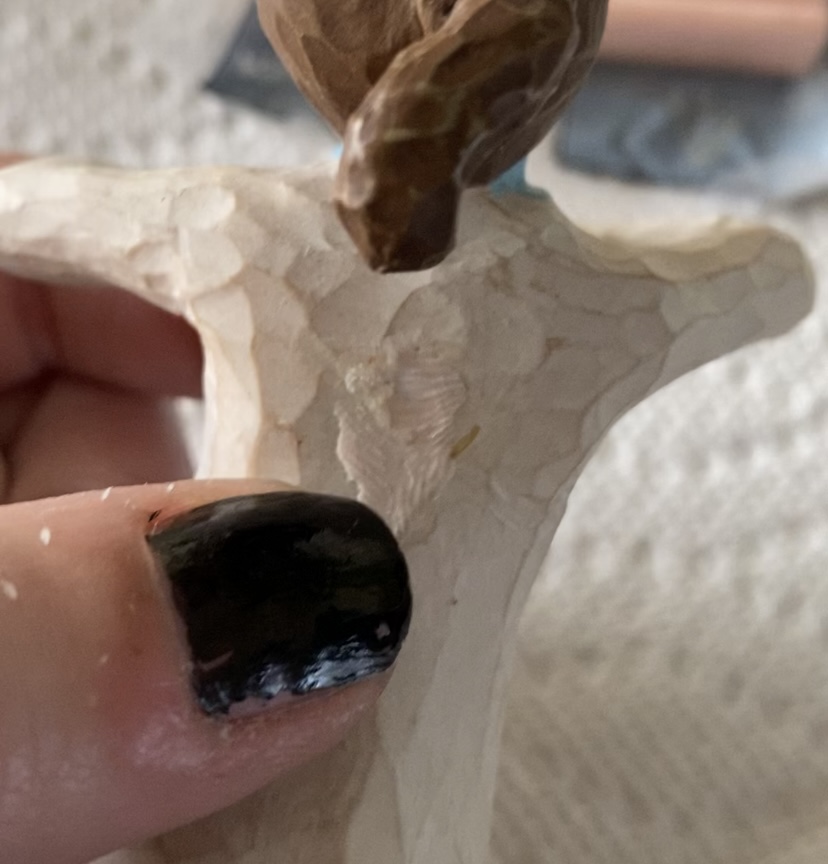
There were two main concerns I wanted to address, as well as a few smaller ones. On the smaller easier side, I used a little clay to fill in the hole on her back where the wings originally sat. I also used a little to fill in the area around her wrists where the original long sleeves were, so that they would be more believable as bare wrists, though given how in the movie Sally's hands don't quite line up with her arms in a few scenes, I wasn't too hung up on that detail.
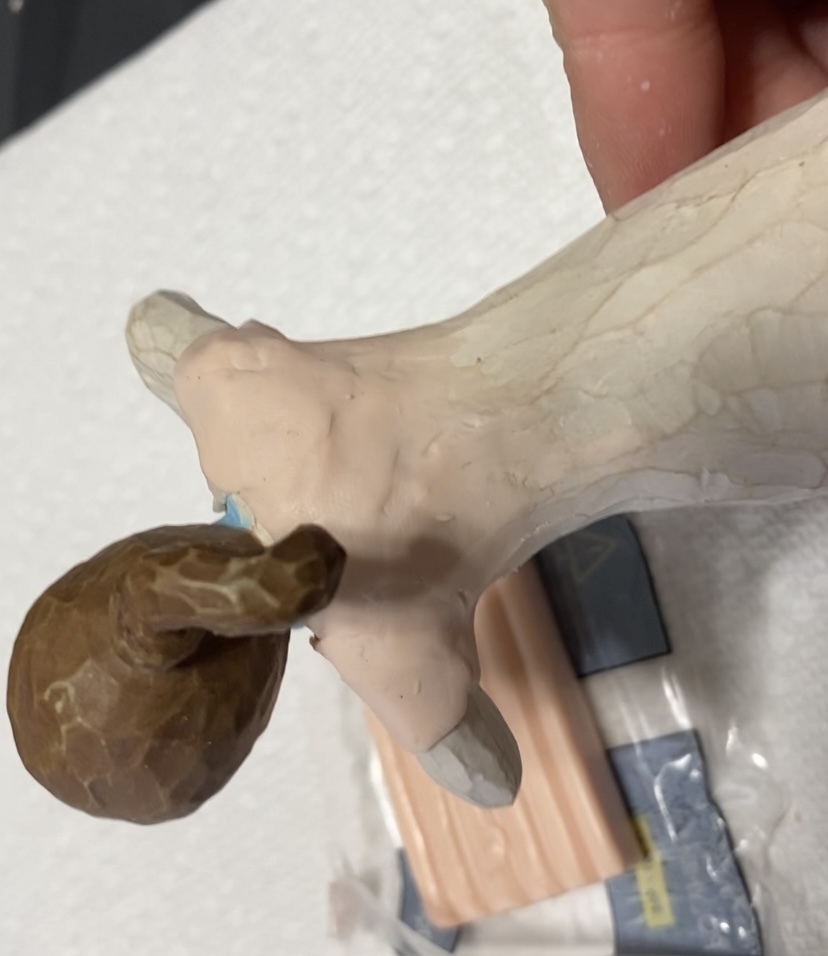
The major things I wanted to change were the hair, and the top of the dress. The dress was technically an easy change - just resculpt the neckline and the sleeves- but because of the position of the arms, and my lack of actual clay tools, it was a bit of a difficult reach. Somehow I made it work, in part by working in sections and just smoothing it out at the seams best I could. Since I was already adding short sleeves and was in the general area, I also added the ragged neckline her dress has in the movie.

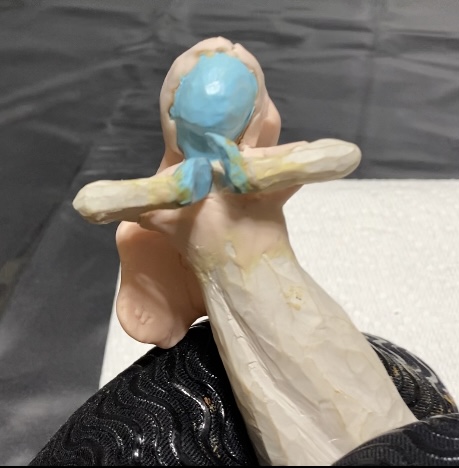
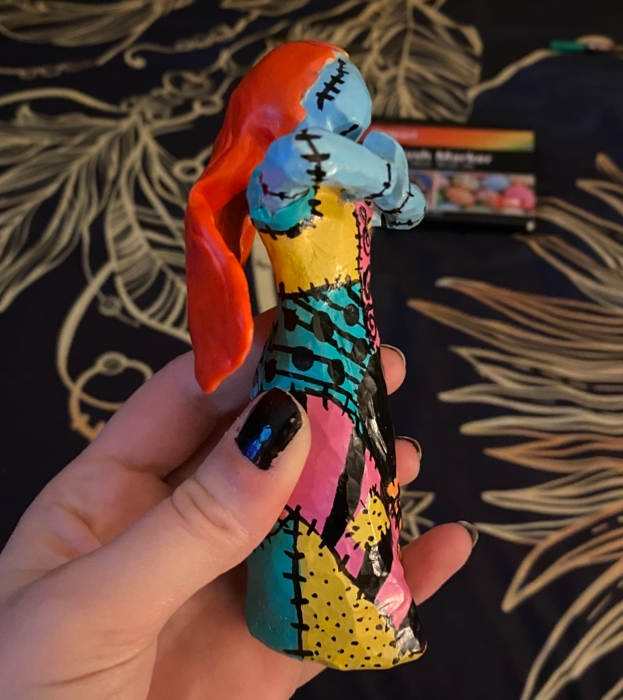
Then came the biggest task; the hair.
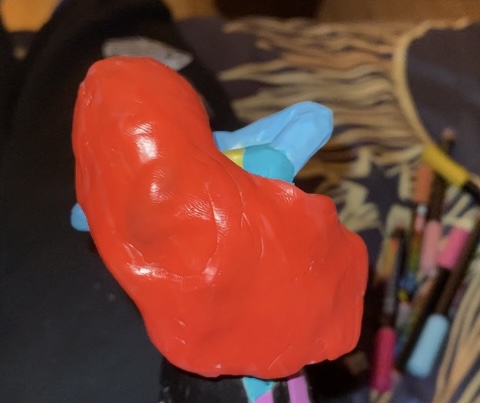
It's worth noting that I didn't really have any plan going into this. I knew I would be covering the whole head rather than just the ponytail, as I figured that would be most structurally sound, And I knew that her hair likely wouldn't really lie flat to her back due to the pose, and position of the ponytail, as I wasn't cutting it off, instead opting to just use it as a structural support for the hair. Once I laid the hair on her head and made a rough part and hairline, I just worked at covering the ponytail. My hope was that by the end you would never even say there had been a ponytail to begin with.
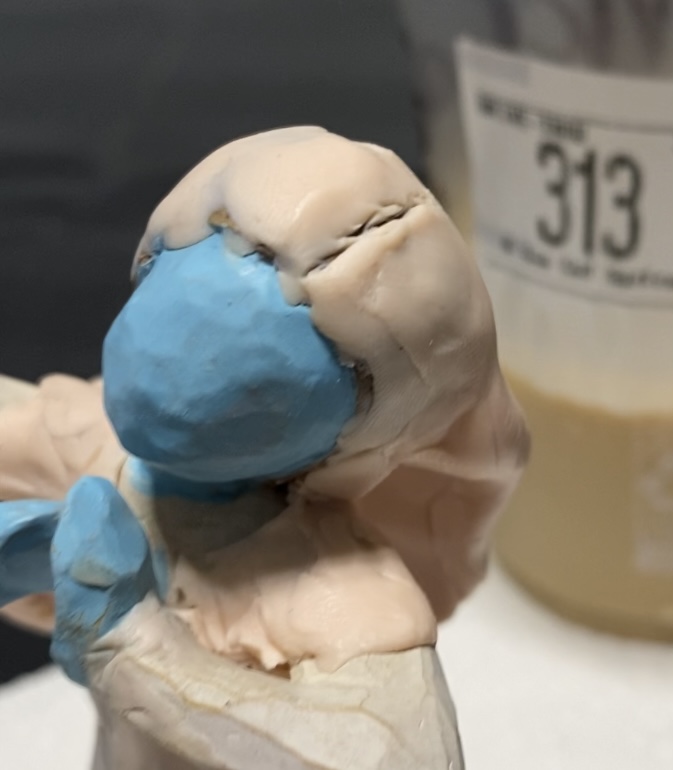
As I was filling in the area around the back of the head, I decided that I was going to attempt to make her hair more dynamic, as any efforts to make it lie closer to her back would result in the ponytail sticking out, or the clay being too thick. I'm going to be completely honest, I mostly just moved it around and played with it until it looked okay, and then tried to smooth the seams out. And then on to curing.
I decided to use polymer clay, as that was what I had on hand. To cure my polymer clay, I usually oven bake it, 275F, for at least 10-15 minutes, sometimes longer depending on thickness. In this case, Sally baked for about 25 minutes.
CAVEAT:
I found out AFTER baking, that it isn't usually recommended to bake clay on willow tree figures directly, as the figures are Resin, which doesn’t always hold up to the heat. I was lucky that after cooling, there were no issues, however the arms were noticeably softened immediately after removal from the oven, and slightly yellowed. It is also worth noting, that the possibility of resin releasing some nasty chemicals and fumes is very possible, so if you decide to replicate this, either bake the clay separately and glue on, or use an air dry clay instead.
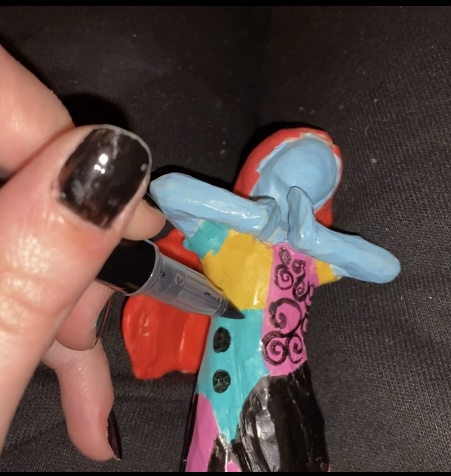
Once cooled, which did not take very long as the clay wasn't particularly thick, it was time to paint! As previously mentioned, I had painted the face and hands prior to everything else, however, I still needed to paint the rest of the arms, and the face needed touching up after a round in the oven. Rather than attempt to use paint and brushes, I used a set of acrylic brush pens ( ironically enough, also an unused craft item passed over from my mother) and I was quite pleased with their performance. I needed two or three coats to full cover, but granted, I imagine I would have even better results if I bothered to do a base coat.
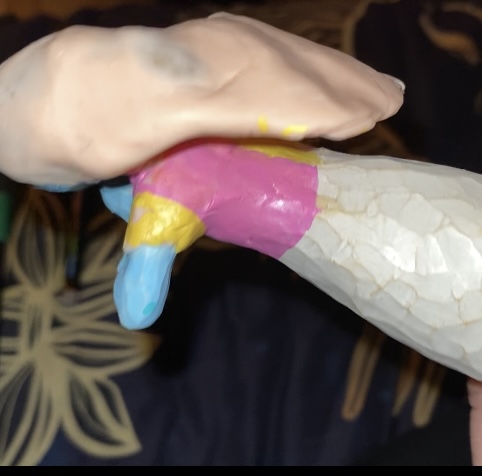
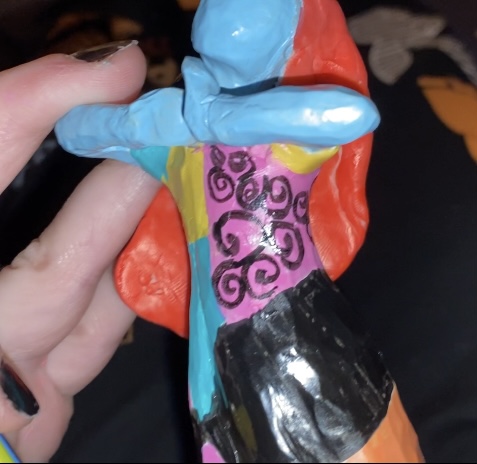
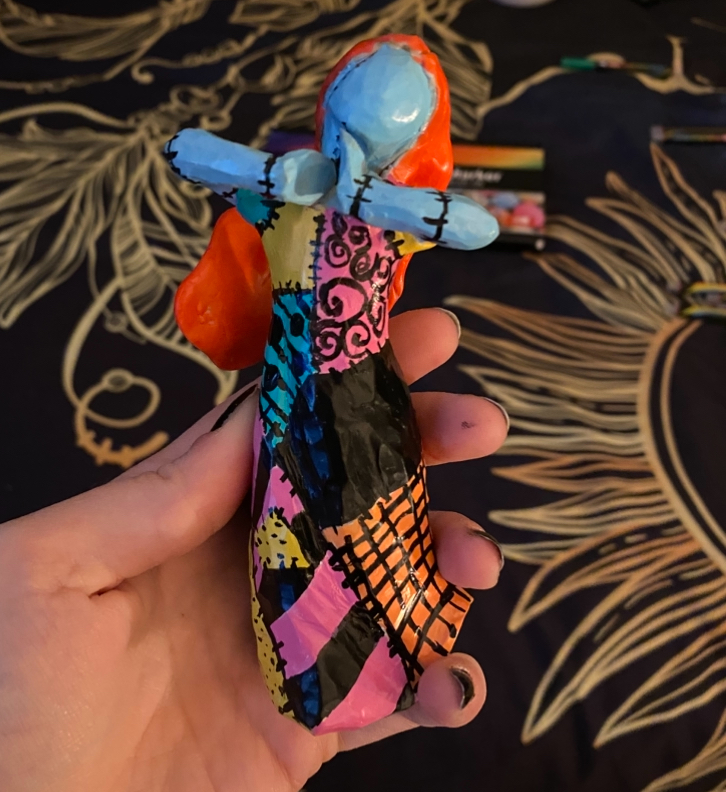
Once I had the face and arms painted and drying, I found a diagram online of Sally's dress, and started colouring the panels, starting at the neckline and working my way down and around. As expected, the pose for the arms made the sleeves and around the chest a little difficult, although it was considerably easier than trying to get the back of the dress under the hair. (You'll note that I haven't painted the hair yet- for this exact reason.)
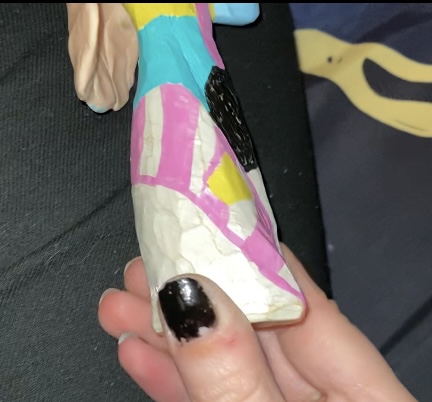
Once I had the vague shapes mapped out, and a final layer applied to the face and arms, I went to work with a black paint pen to add the pattern details to some of the patches. I could have gotten a pen to do this neater I imagine, but I like to think the messiness adds to the charm a little. It was also at this point that I did the first layer of red on the hair. Everything was really starting to come together!
The final touches lay in the stitching detail on Sally's dress, and Sally herself. The dress was easy enough, it was just lines of stitches down the seams of the different patches. For the stitches on Sally herself, I looked up photos of her, and came across a diagram of her stitches (likely meant for drawing reference or cosplay purposes) and used that for the stitches on her arms and neck. I at some point decided rather than paint her face on, it would be fun to leave the doll faceless, a trademark of the Willow Tree figurines. So while I did paint on the stitch line that runs down the side of her face, I didn't paint the stitches that would normally reside on either side of her mouth.
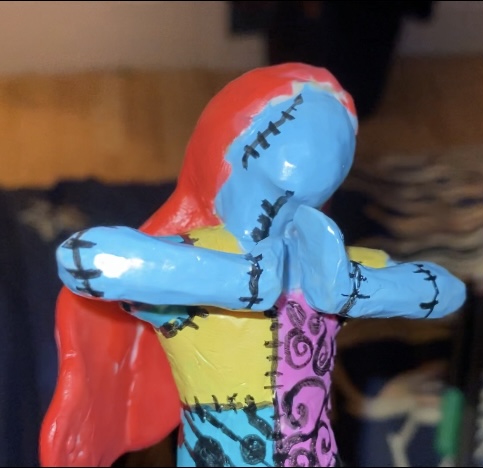
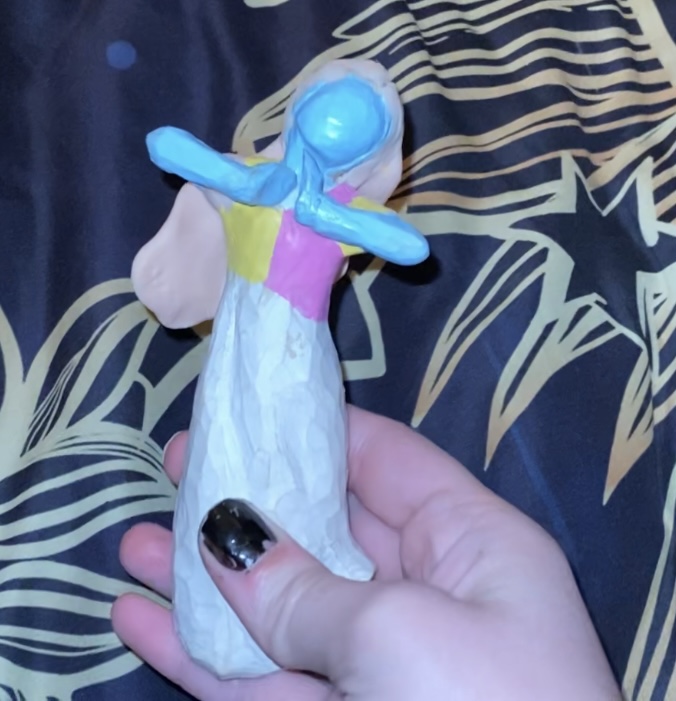
And just like that she is finished! I'm very content with how she turned out, and it was a rather quick project! In all, I only spent about three and a half hours or so working on her, with a break to let the clay cool, resulting in about four hours from start to finish, give or take a few minutes.
While this was not meant as a tutorial of sorts, if you decide to make your own sally figure, or have painted a Willow Tree figure of your own, I would love to see it! Feel free to reach out to me on my social media, or leave a comment on my home page telling me about it!
Thank you for reading, and until my next project!